
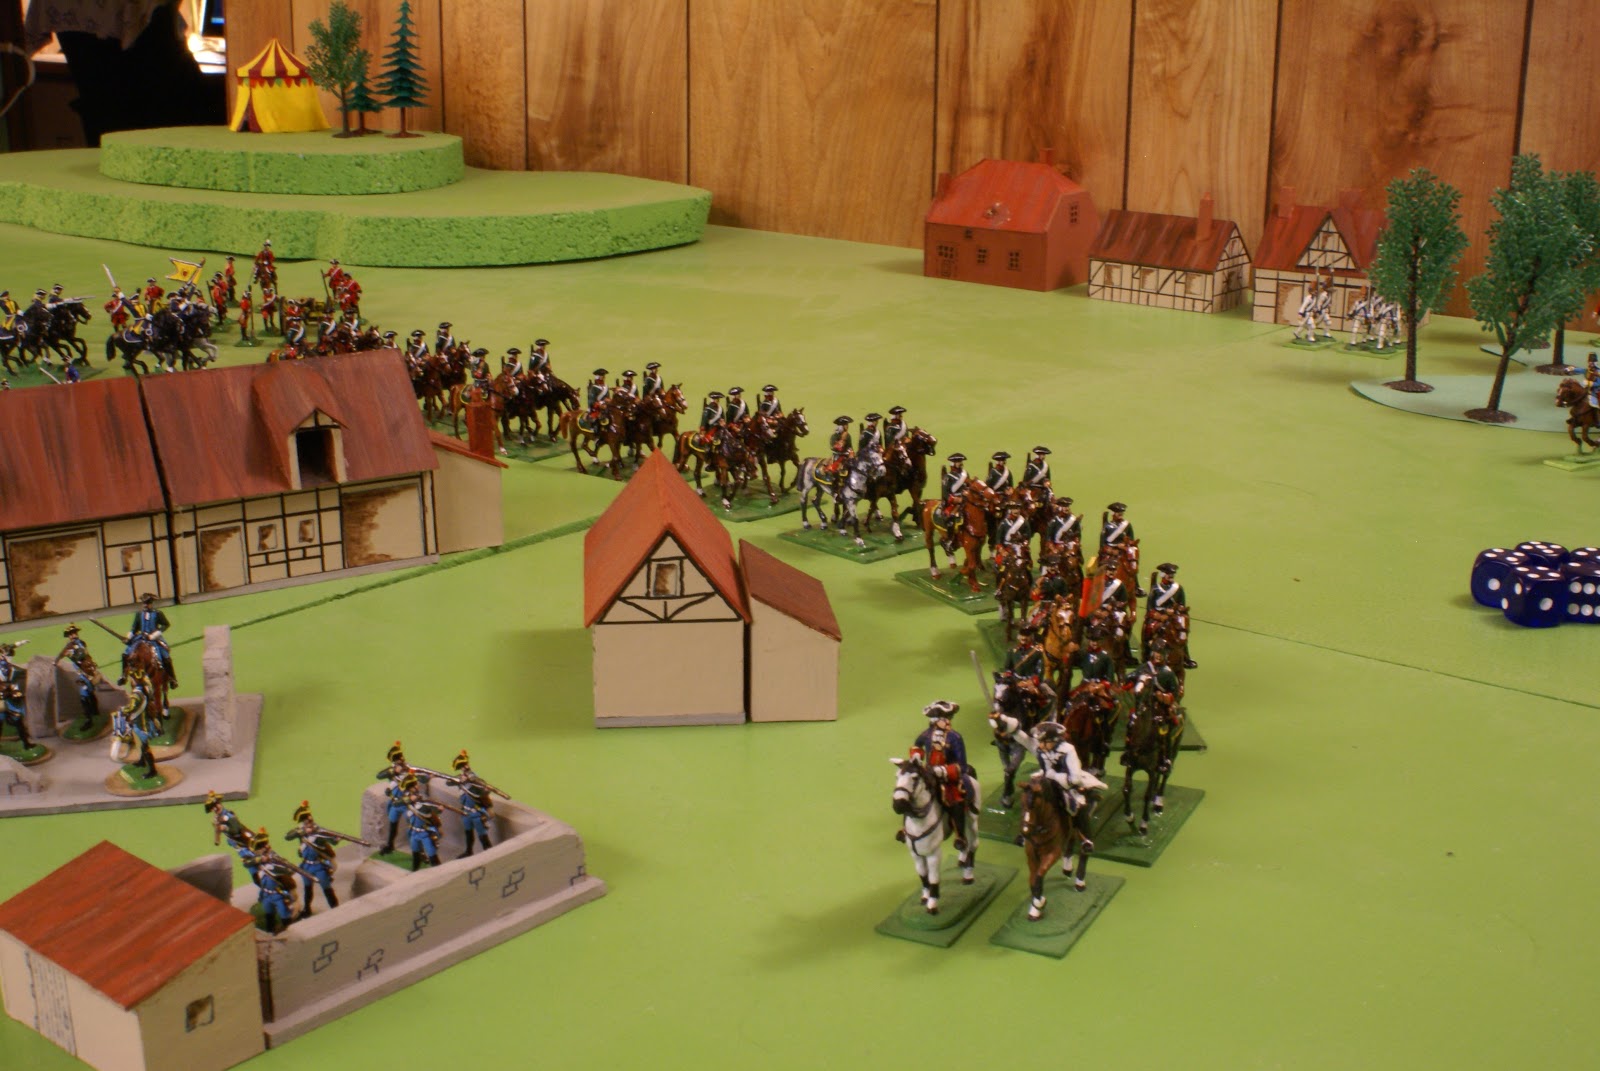
General von Tschatschke's 4th Dragoons act fast at the start of Turn Five and move forward 24" to retake the guns that were abandoned by their crew during the melee at the end of Turn Four.

In this second artist's rendering, you'll note that the dragoons are firmly in possession of the guns and, barring any unforeseen developments, will be able to drag them to the rear during Turn Six where their remaining disgraced crew crew awaits.

Meanwhile, across the Sittangtal, just to the north of Neu Sittangbad, von Tschatschke's Anspach-Bayreuth Curassiers have withdrawn a full 24" to the very banks of the river where they will cover approaching allied troops, who are in the midst of breaking off with the enemy Zichenauers, withdrawing through the town, and escaping across the toll bridge to fight another day.
Here, we can see the newly formed front line of General von Tschatschke's army, anchored on either side of the earthworks, which were erected just outside the main gate into Neu Sittangbad before the battle commenced. In the foreground, are the remaining 2nd (Von Laurenz) Musketeers, the independent company of the Wolmar-Bock Regiment occupies the earthworks in the middle distance, and the badly shaken, but reformed, Leib (Grand Duchess Sonja's Own) Grenadiers are visible at the far end of the line along with a few errant artillerymen. . . Those grey-coated ne'er-do-wells!

Next, we see a Stollenian engineer officer and NCO, who are now in position and waiting for the order to blow the toll bridge, preventing an easy advance by General de Latte's Zichenauer horde into the heart of Stollenian territory. I hope there is no miscommunication that might lead to a premature demolition of the bridge before the bulk of the Stollenian army and the supplies held within Neu Sittangbad are evacuated safely across the river.

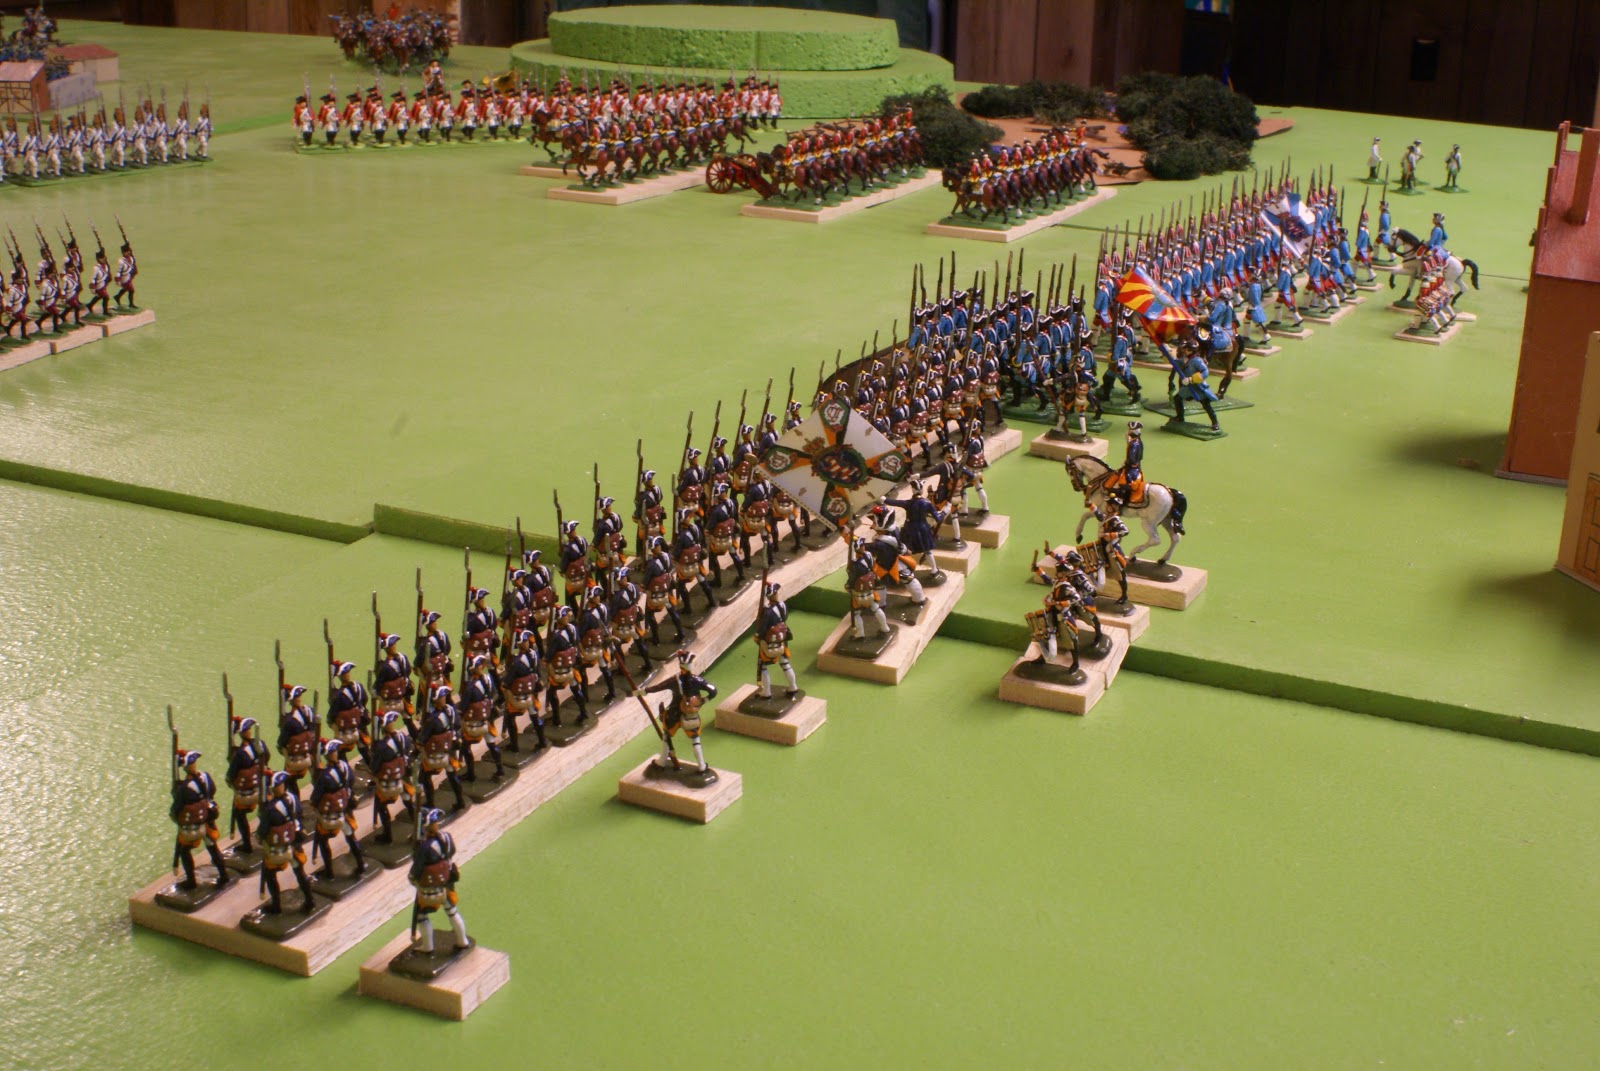
At the same time, the evil and twisted General de Latte is attempting to form a cohesive front line of battle, to advance on the enemy troops occupying the ground between his own army and Neu Sittangbad. In the distance, you'll observe the reformed Mittau Volunteers in scarlet along with von Flickenhoffer's Fusiliers in creamy white and a few of the elite Ermland Garde at the far right.

Here is another illustration, sketched from a slightly different perspective, that shows Colonel von Flickenhoffer's men scrambling to close ranks with the Ermland Garde to their immediate right.

And here is a panoramic view of the Zichenauer army as they advance on the Stollenians and Neu Siattangbad beyond.

Next, you'll see the Ermland Garde up close as they advance on the Stollenian left flank. O'Malley's Irish Grenzers, some artillery, and a few cavalry are in the background with each attempting to fulfill various and yet related tasks in their misguided bid to defeat General von Tschatschke's army and drive it from Neu Sittangbad.

Above, you'll note just how close the opposing lines of infantry have come five turns into the Battle for Neu Sittangbad. Three companies of the Ermland Garde are now within musketry range -- 12" -- of Stollen's Wolmar-Bock Regiment (in the earthworks) and the 2nd (von Laurenz) Musketeers.
Elsewhere on the battlefield, the remaining two regiments in General de Latte's cavalry brigade are approaching, to support the Mittau Volunteers and the remaining 11th Hussards. Here, you can see the Trumbach Dragoons and Horse Grenadiers giving wide berth to the remaining Stollenian Jaeger zu Fuss, who still occupy EispickeVillage.

Speak of the devil! Here, we see the remaining hussars, down to only 13 in strength from their original 30. Hmmmm. . . Isn't their a 50% rule we need to apply? Hmmmm again. . . And might the Stollenain Jaeger zu Fuss in Eispicke be down to 50% of their original strength too? Both cases certainly need a closer look before Turn Five concludes.

Across the Sittangtal, on the northern edge of the valley, Colonel Thomas O'Malley and his trusty Irish Grenzers have infiltrated most of the woods atop the ridge and will shortly be in a position to deliver a wicked fusillade of skirmish fire into the flank of the 2nd (von Laurenz) Musketeers. Perchance during Turn Six?

Finally, here are General de Latte's remaining two batteries of guns and crew, marching in support of the front line and in search of a suitable area to deploy for battle. You will also notice the tail end of the cavalry column in route to the far side of the battlefield to support General de Latte's left flank.
Comments
Best Regards,
Stokes
Chris