 I made a big push earlier this evening and base coated all but one squadron (9 figures) with heavy coats of the stuff, which dries nicely without obscuring any detail. Yes, you can even see where I forgot to trim away a few mold lines – Hell and damnation!!! I’ll finish the final figures tomorrow evening before starting to paint the first squadron and regimental staff -- 12 figures in all.
 Anyway, to answer that nagging question at the back of your minds, the gesso I use seems to remain flexible enough NOT to peel or flake away when I bend the extended swords held by officers and troopers alike. This suggests to me that it sticks to soft plastic figures just fine. Me thinks I might have found my base coating medium.
Once painting is complete on the stollenian dragoons in a few weeks and a coat or two of Future acrylic floor varnish is applied to them, I think you’d have to chew on the figures before the paint would start to peel away. Hmmm. I’ll have to try that. Any volunteers out there?
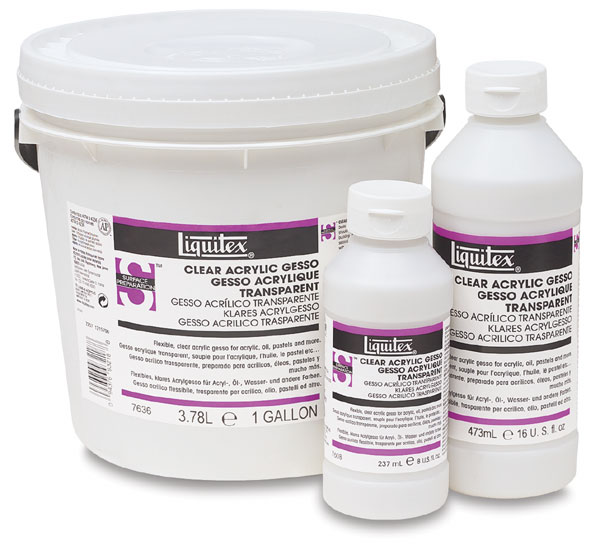
For those who are interested in knowing a bit more about this magical stuff, here is what the Dick Blick (artists’ supplies) website had to say about Liquitex acrylic gesso:
“A ready-mixed painting ground, Liquitex Gesso can be used with any kind of paint. It covers in one coat and remains brilliantly white, flexible, and non-cracking. Gesso provides the perfect "tooth" and adhesion to a wide variety of supports and surfaces such as canvas, paper, and wood. It can be thinned with water. Available in a wide variety of sizes.
Liquitex Acrylic Gessos are suitable for Liquitex High Viscosity and Medium Viscosity Acrylics, and other artist grade acrylic paints. For student painting projects, use Liquitex Basics Acrylic Gesso.
Clear Gesso — This Clear Gesso makes an excellent high-tooth, stable surface for most media. It dries clear to translucent, depending on thickness. Flexible and non-yellowing when dry. Mix Liquitex Clear Gesso with acrylic paint to create a colored gesso.
Super Heavy Gesso — An innovative, impasto, Titanium White gesso that holds its sculptural shape until dry. Super Heavy Gesso has all the attributes of traditional acrylic gesso and is ideal for thick and sculptural applications with knife or brush. AP non-toxic.”
And best of all, you can get the stuff in mid-grey and black too! Once I’ve gone through the tiny bottle of white that I purchased last week, I may just have to give the black gesso a try if I don’t like working with Plasti-Dip.
Comments
The lack of paint sticking to plastics is a big reason why I have always shied away from them, no matter how nice the castings looked, they would always need so much TLC and continuous sentry work while on the table that I did not want to be dissapointed with flaky paint and continuous repairs.
Given that I tend to have to travel with my minis to game events it would be nice to have something lighter than lead, but the tradeoff is also more hands of less experience using the figs and manipulating them, this tends to cause more breakages (though so far only a few 'dropped' to the floor) and lost bayonettes.
I shall be reading with interest about these developments.
Cheers
The gray covers well, but it doesn't have the "tooth" like the white; as a matter of fact, it dries sort of semi-gloss. (It reminds me of the old Imrie/Risley brush-on primer I used 30 years ago on 54mm figures but without the horrid smell.)
The black works pretty well, but I find black primed figures hard to see and dry-brushing the highlights with white is another step I'd rather not have to do.
The dark brown gesso (burnt siena?) was interesting, and I'm sure it has its uses (horses and such), but it too didn't seem to have enough tooth when compared to the white stuff.
My least favorite is the clear. The tiny clear bits in it seemed too coarse and uneven in texture to be useful as an overall figure primer. Still, it could be useful where you want some sort of grainy texture like on a building (stucco) or something.
The main thing I learned is to let the gesso dry overnight; 24 hours or more is even better. (You've probably noticed that it can be pretty delicate before it's completely dry.)
Like I've said elsewhere, it's always good to have lots of things in your painting bag-of-tricks.
Regards
Best wishes.
Marnie
www.crescendophoto.com